After a tree damages your property, thorough documentation is one of the most useful things you can do before any removal or repair work begins. A complete record of the damage — photographs, video, and written notes — supports contractor coordination, gives you a clear picture of what happened, and provides information you may need for insurance communications about damages. Tree On Me serves Rockville and Montgomery County, MD.
Why Thorough Documentation Matters
Documentation serves several practical purposes. Contractors who arrive to assess or perform repair work benefit from knowing the pre-removal condition of the site — where the tree originated, what it struck, and the extent of the visible damage. If multiple contractors are involved — a tree service, a roofing contractor, a structural engineer — documentation creates a shared record they can all reference.
For your own records, documentation of the date, time, weather conditions, and apparent sequence of events creates a reference that may be useful later. Coverage for tree damage depends on your individual policy and insurer approval — contact your insurance company directly if you plan to file a claim. Your insurer may have specific documentation requirements.
Step 1: Photograph Before Anything Is Moved
What to do when a tree falls on your house? The most important time to document is before any removal or cleanup has begun — once any immediate life safety concerns have been addressed.
Take wide-angle photographs showing the overall scene: where the tree is now, where it fell from, the full extent of the fallen material, and its relationship to the structure it has affected. Capture these shots from multiple angles, including from the street or from positions that provide context for the size of the tree and the scope of the fall. These overview photographs are the most useful record of the initial condition.
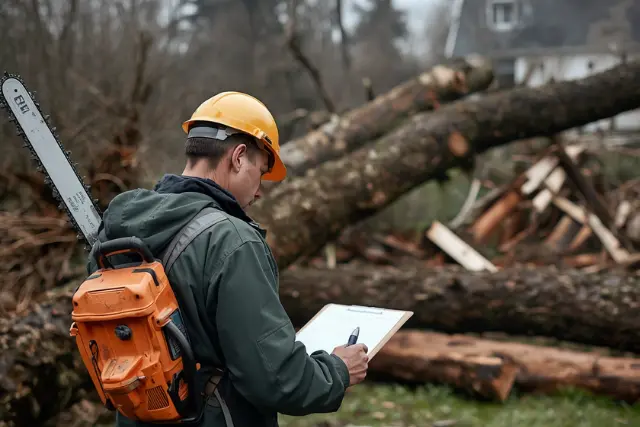
Step 2: Document the Tree
In addition to overview shots, photograph the tree itself in detail. The root ball — if the tree has uprooted — shows the size of the root system and any decay that may have been present. The point of failure on the trunk may show evidence of decay or structural weakness that explains why it failed.
Photographs of the trunk at the base and at the failure point, and photos showing the full length and spread of the fallen tree, help establish the scale of the event. Note the approximate diameter of the trunk and, if visible, whether the wood at the failure point appears solid or shows signs of decay.
Step 3: Record the Structural Damage
Document all visible structural damage to the property. This includes exterior photos of penetration points, damaged sections of roof, damaged walls or windows, and affected gutters or siding. If it is safe to go inside, document visible interior damage — ceiling damage, water intrusion, structural deformation — from inside the affected rooms without entering damaged zones.
Photograph any secondary damage: fencing, vehicles, landscaping, or other structures that were affected during the fall. Document the perimeter of the work zone with photos that show what was and was not damaged.
Step 4: Maintain a Written Record
Alongside photographs, maintain a written record that includes the date and approximate time the tree fell, the weather conditions at the time, a brief description of the sequence of events as you understood them, and a log of who you contacted and when — including Tree On Me, your insurance company, and any other contractors.
Keep copies of all written communications with contractors and your insurance company. If multiple contractors are involved in assessment and repair, note the date and scope of each visit. This written record, combined with your photographs, creates a complete file for your reference.